
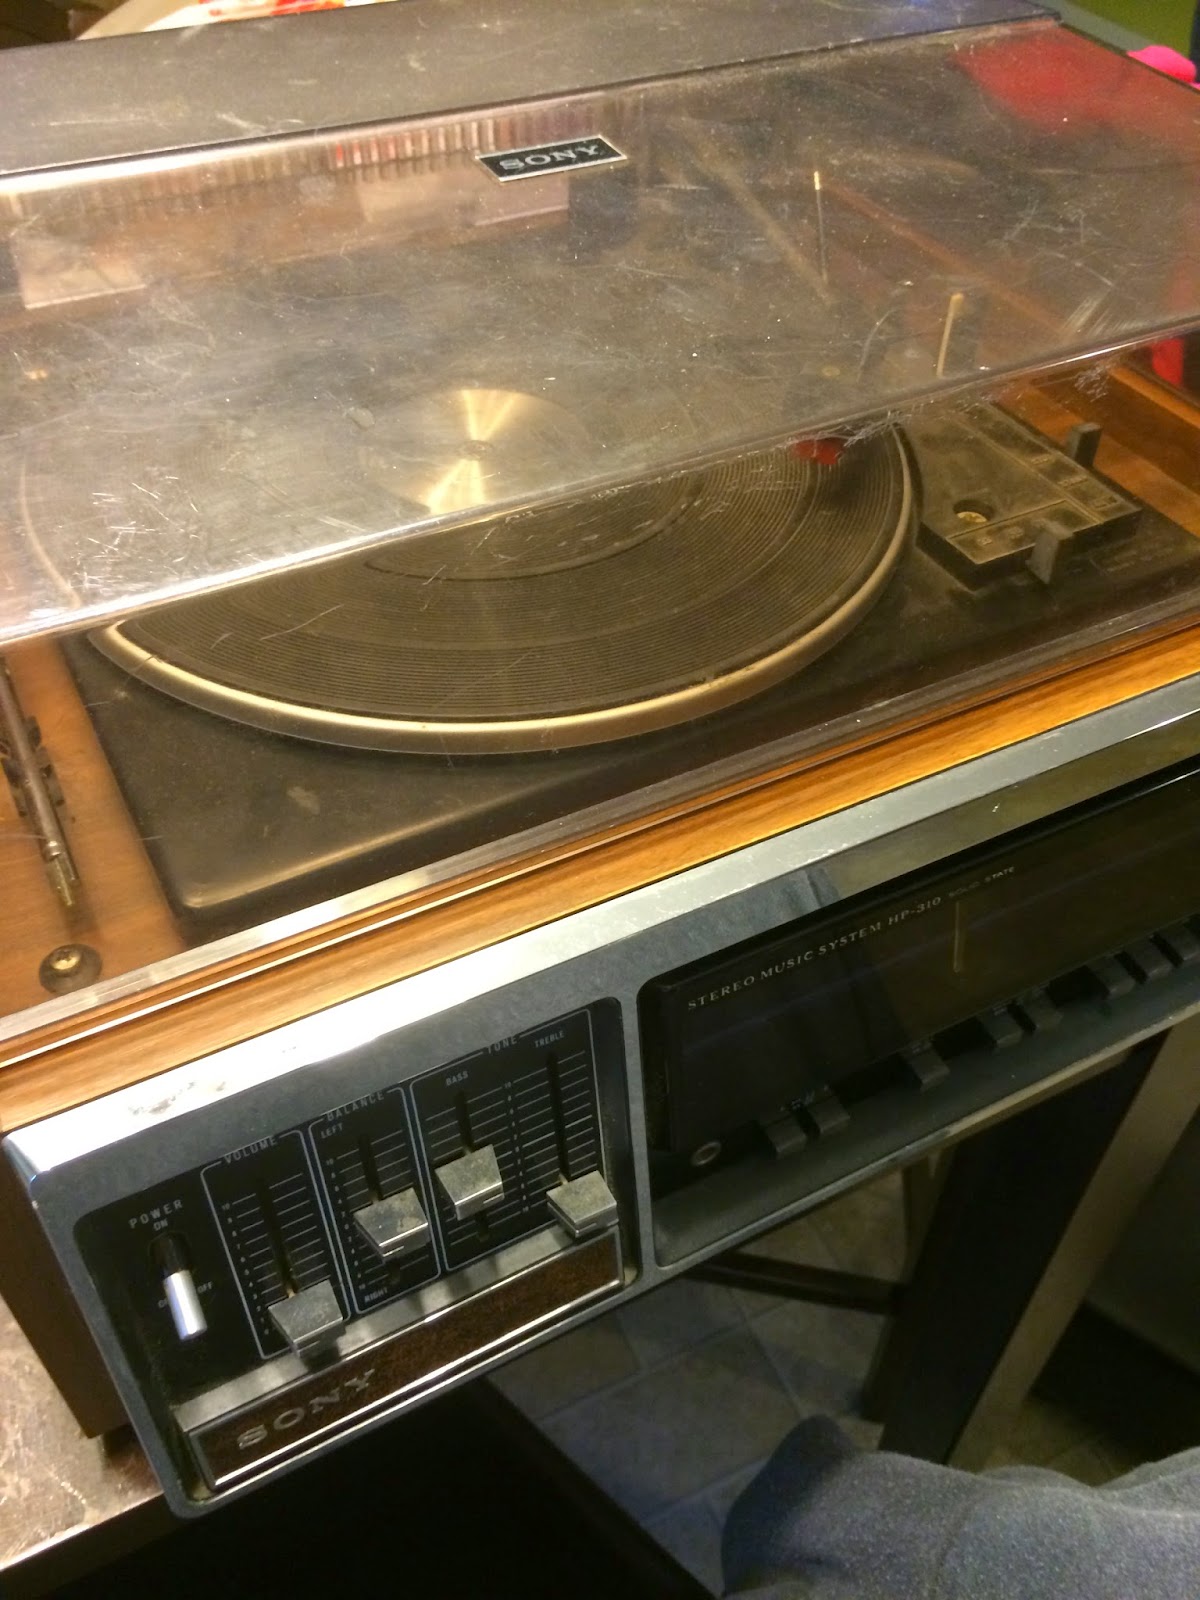
Ahhhh, nothing like a good ole BSR turntable. Pretty much everybody (at least anyone in their 30's or older) can remember at least knowing somebody who had one of these. They were one of the most popular turntables in the 60's and 70's, found in console units, amplifier/turntable combos, or even just on their own to be plugged into an existing system.
Audiophiles can put the hate on these turntables all they want, they may complain about the "rumble" sounds from the mechanics, or how their needles "eat records", but I buy none of it! When these tables are properly set up and greased and oiled, then they work very well. These things are built like tanks and I have yet to find one that I could not bring back to life. Sure BSR's with the moving magnetic needles are better than the ones with the ceramic needles, but there is something about the 60's sound that the ceramic needles give that is welcoming. I don't believe these ceramic needles are as bad as many think. Sure, they require more tracking pressure than the magnetic needles, but the needles are shaped to handle this pressure without damaging the vinyl. I use these all the time and have yet to have them cause any damage to my records. I guarantee that a large percentage of used vinyl from the 70's have been played on one of these tables at least once.
All this being said, most of these turntables have been sitting in storage for the past 20+ years. This long storage period has caused most tables (I'd say 4 out of every 5 I come across) to become seized and no longer work.
The good news is that with a little 'know-how' and some patience, you can bring these turntables back to life with ease, and this post is here to guide you through this procedure!
I recommend doing this to any BSR turntable that has been sitting for more than a few years, even if they do still spin. Cleaning and replacing the old grease will have these tables working better than new!


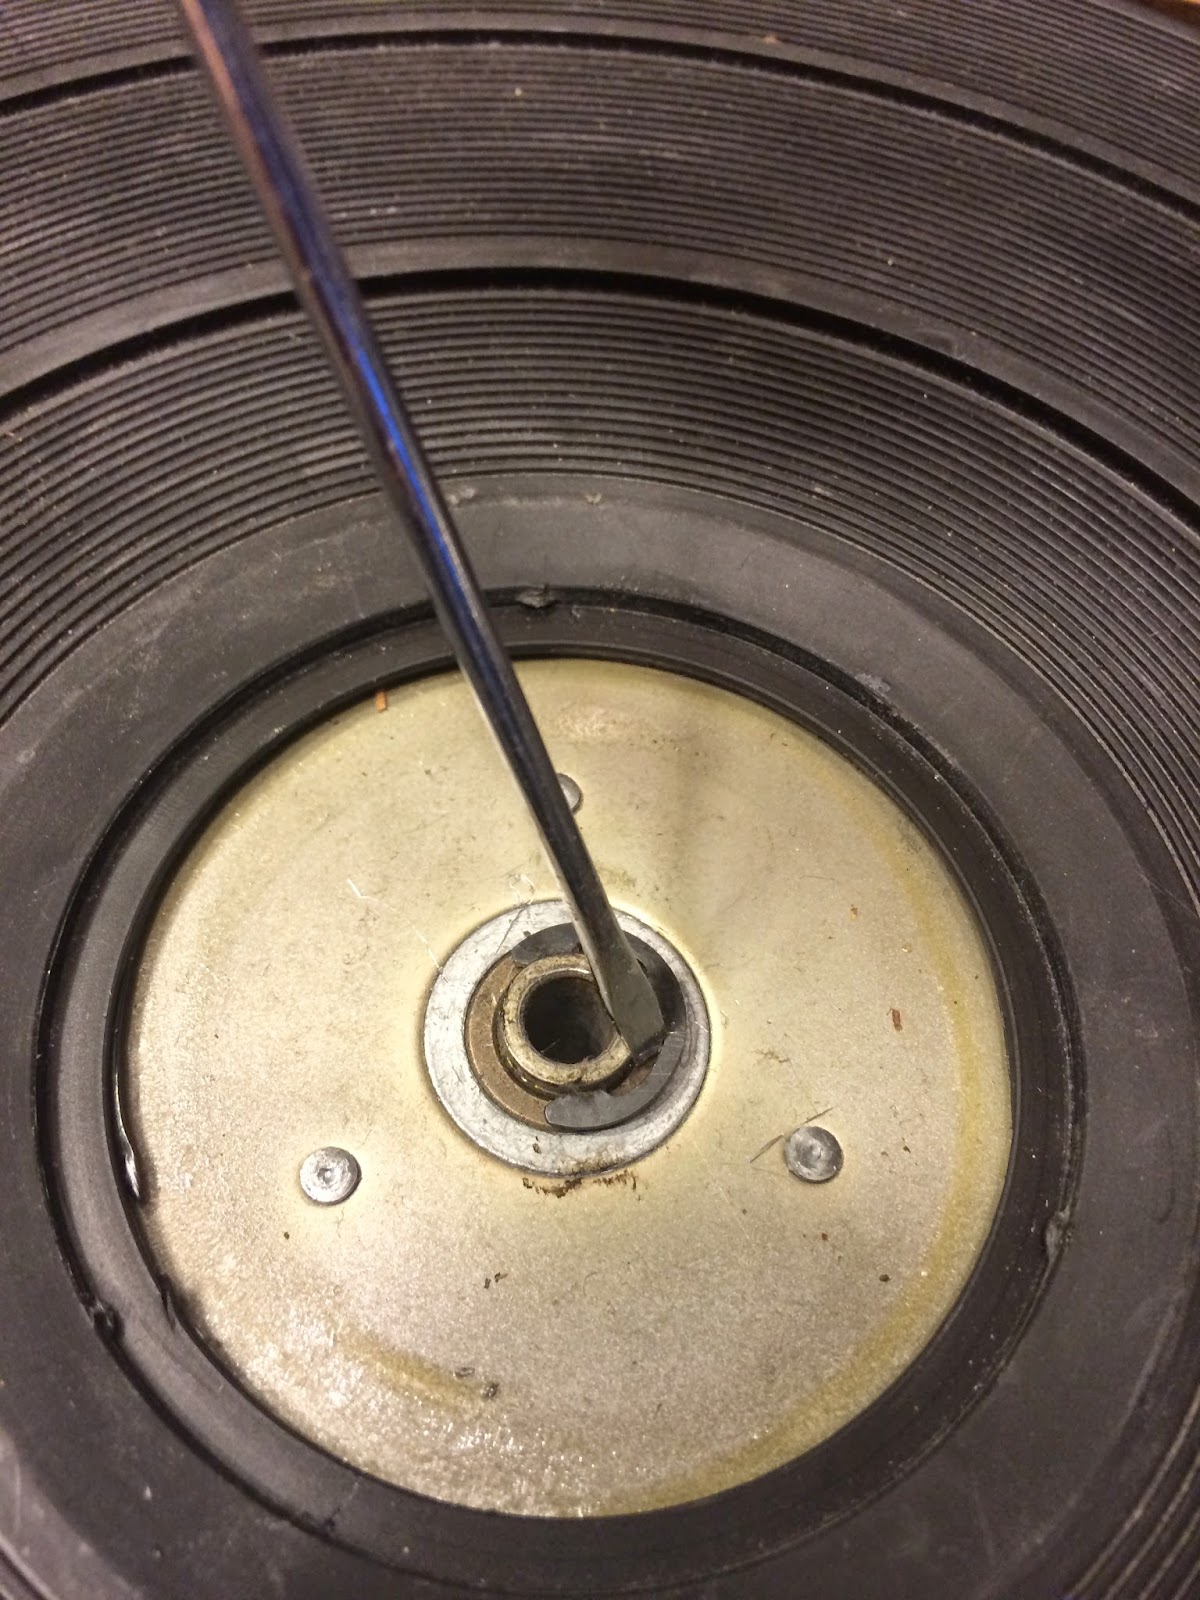

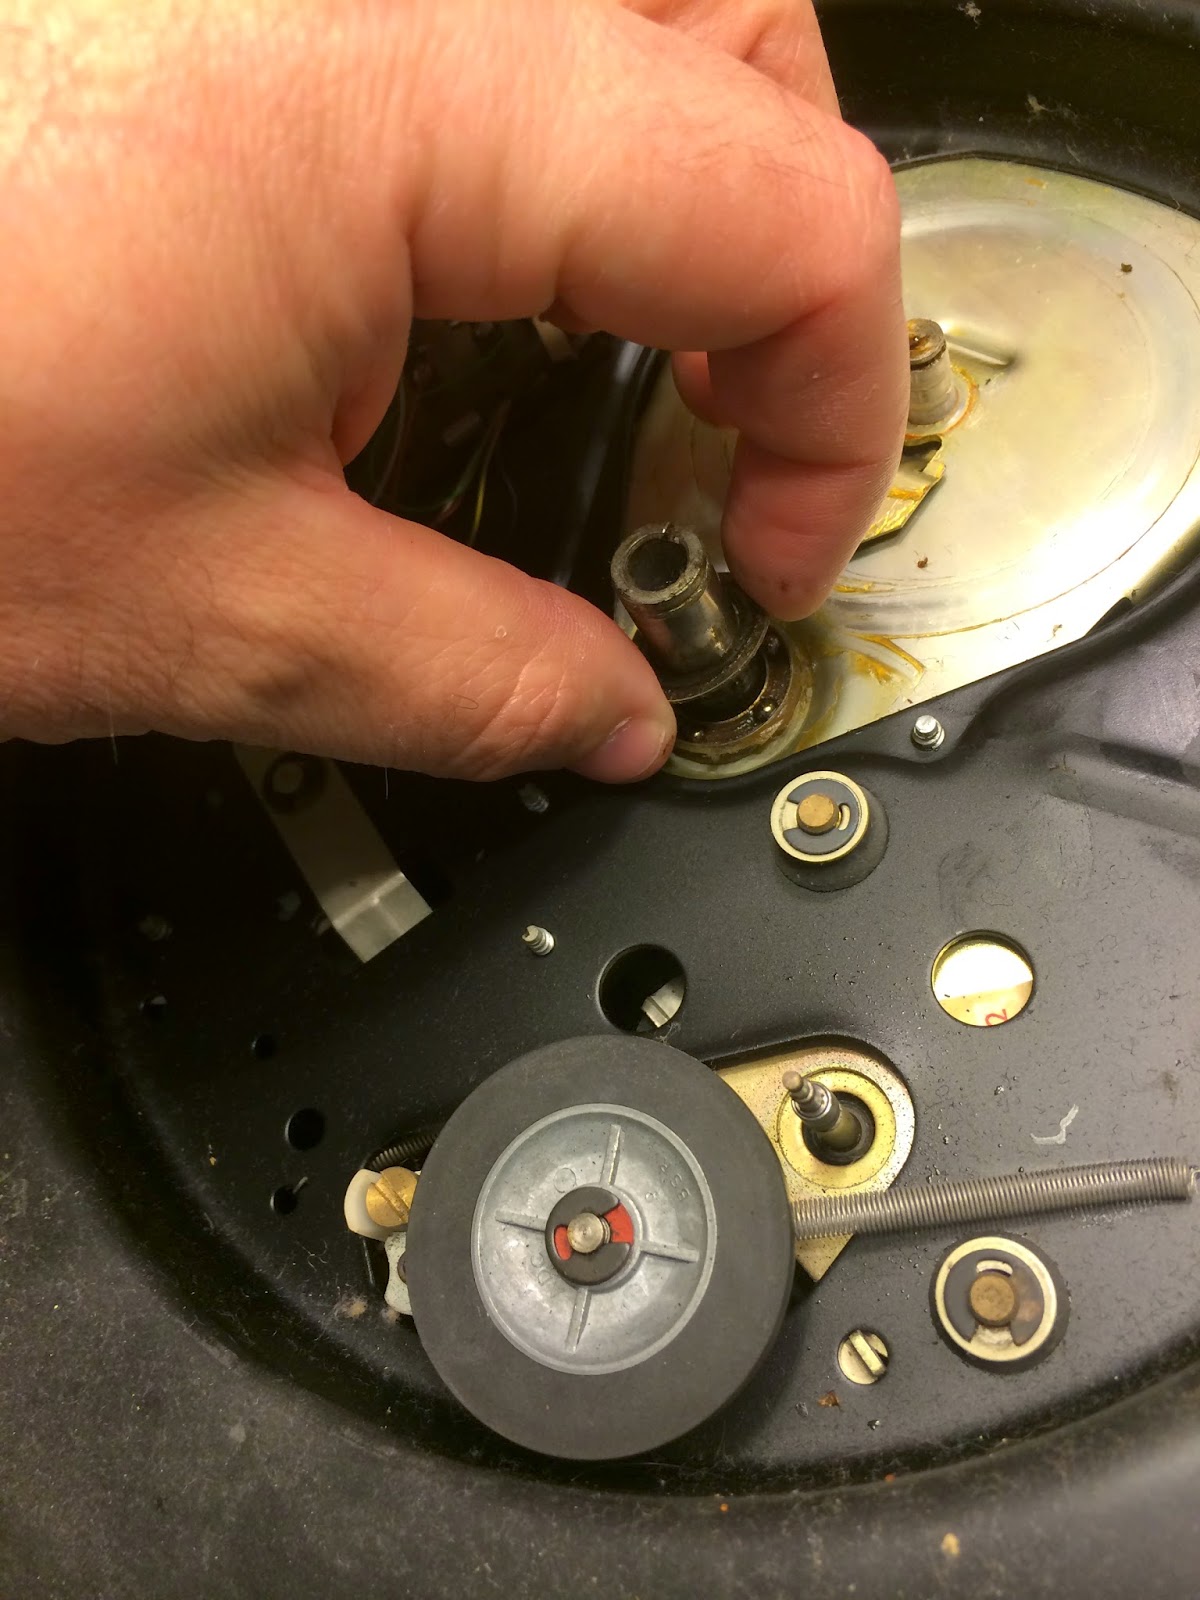
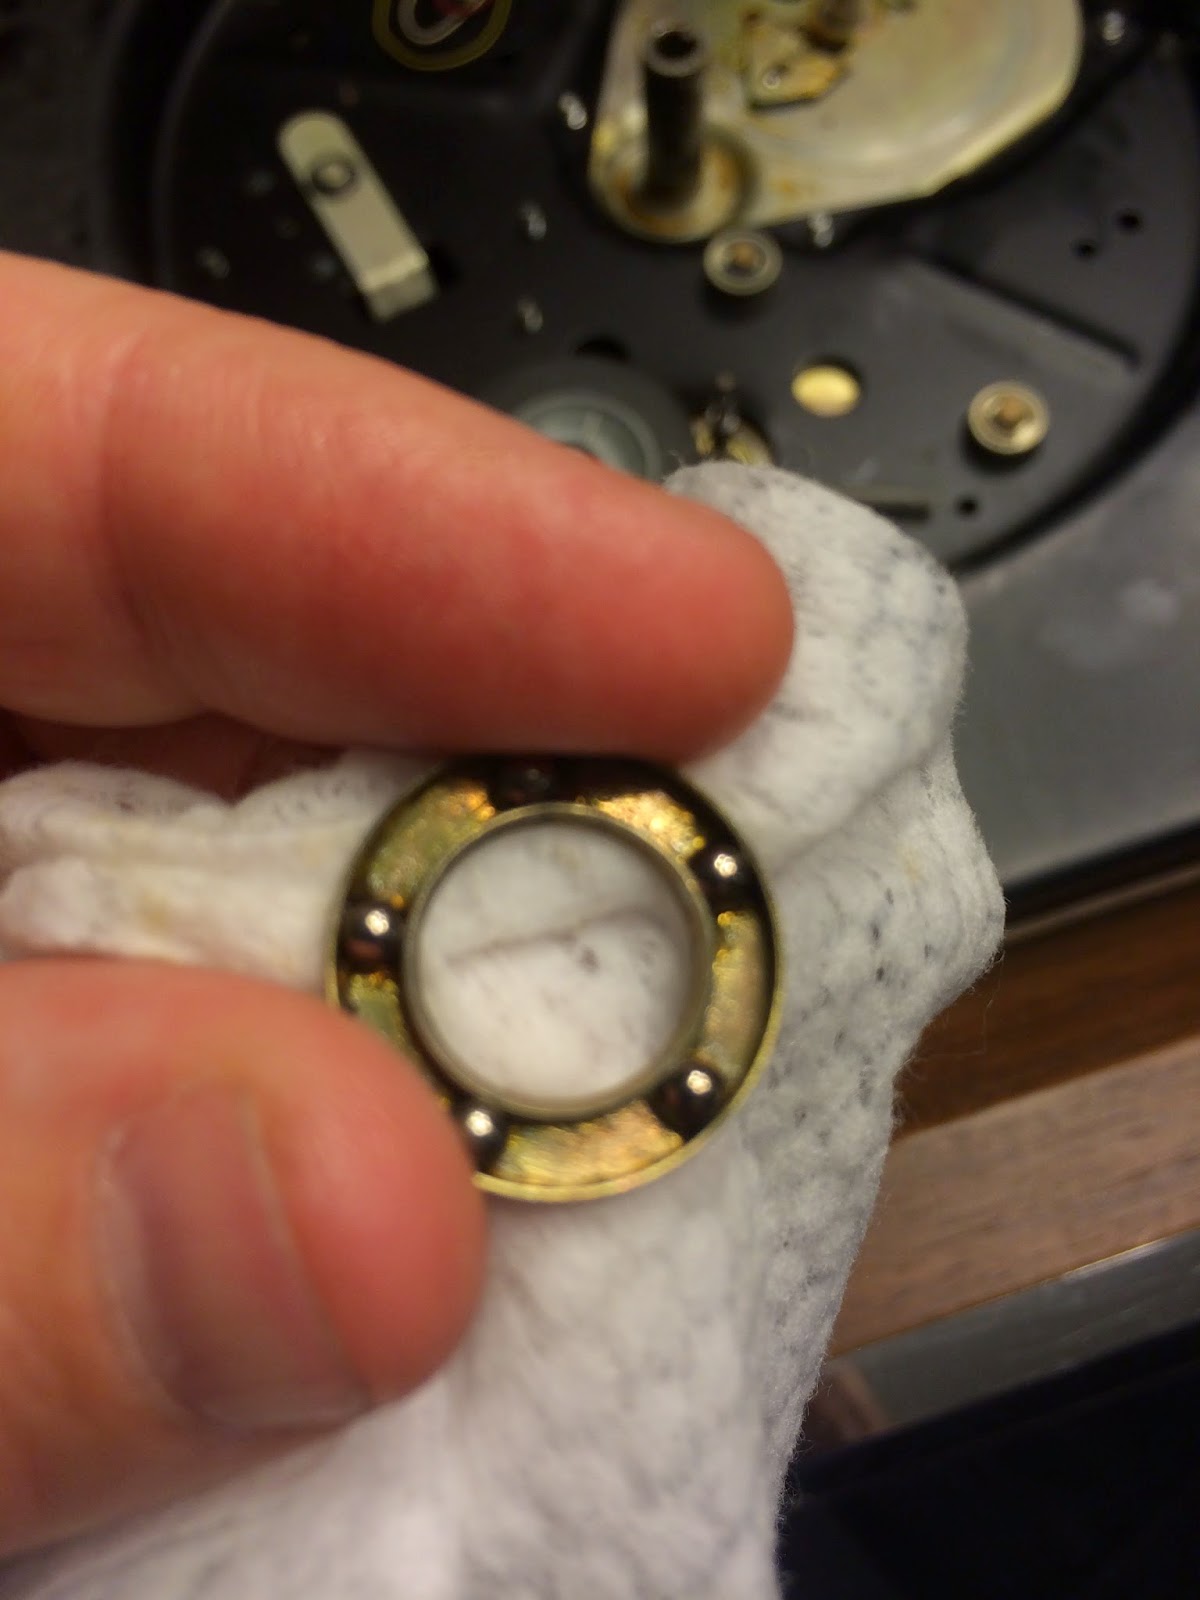
Now that the platter is removed you can see the large cycling gear (top right of the above picture). This has a c-clamp which is holding it in place.


it's a good idea to add one small drop of sewing machine oil to the motor when you have the platter removed. Just put the drop (only one) beside the motor spindle which is the part that the rubber idler wheel hits when the unit is turned on.
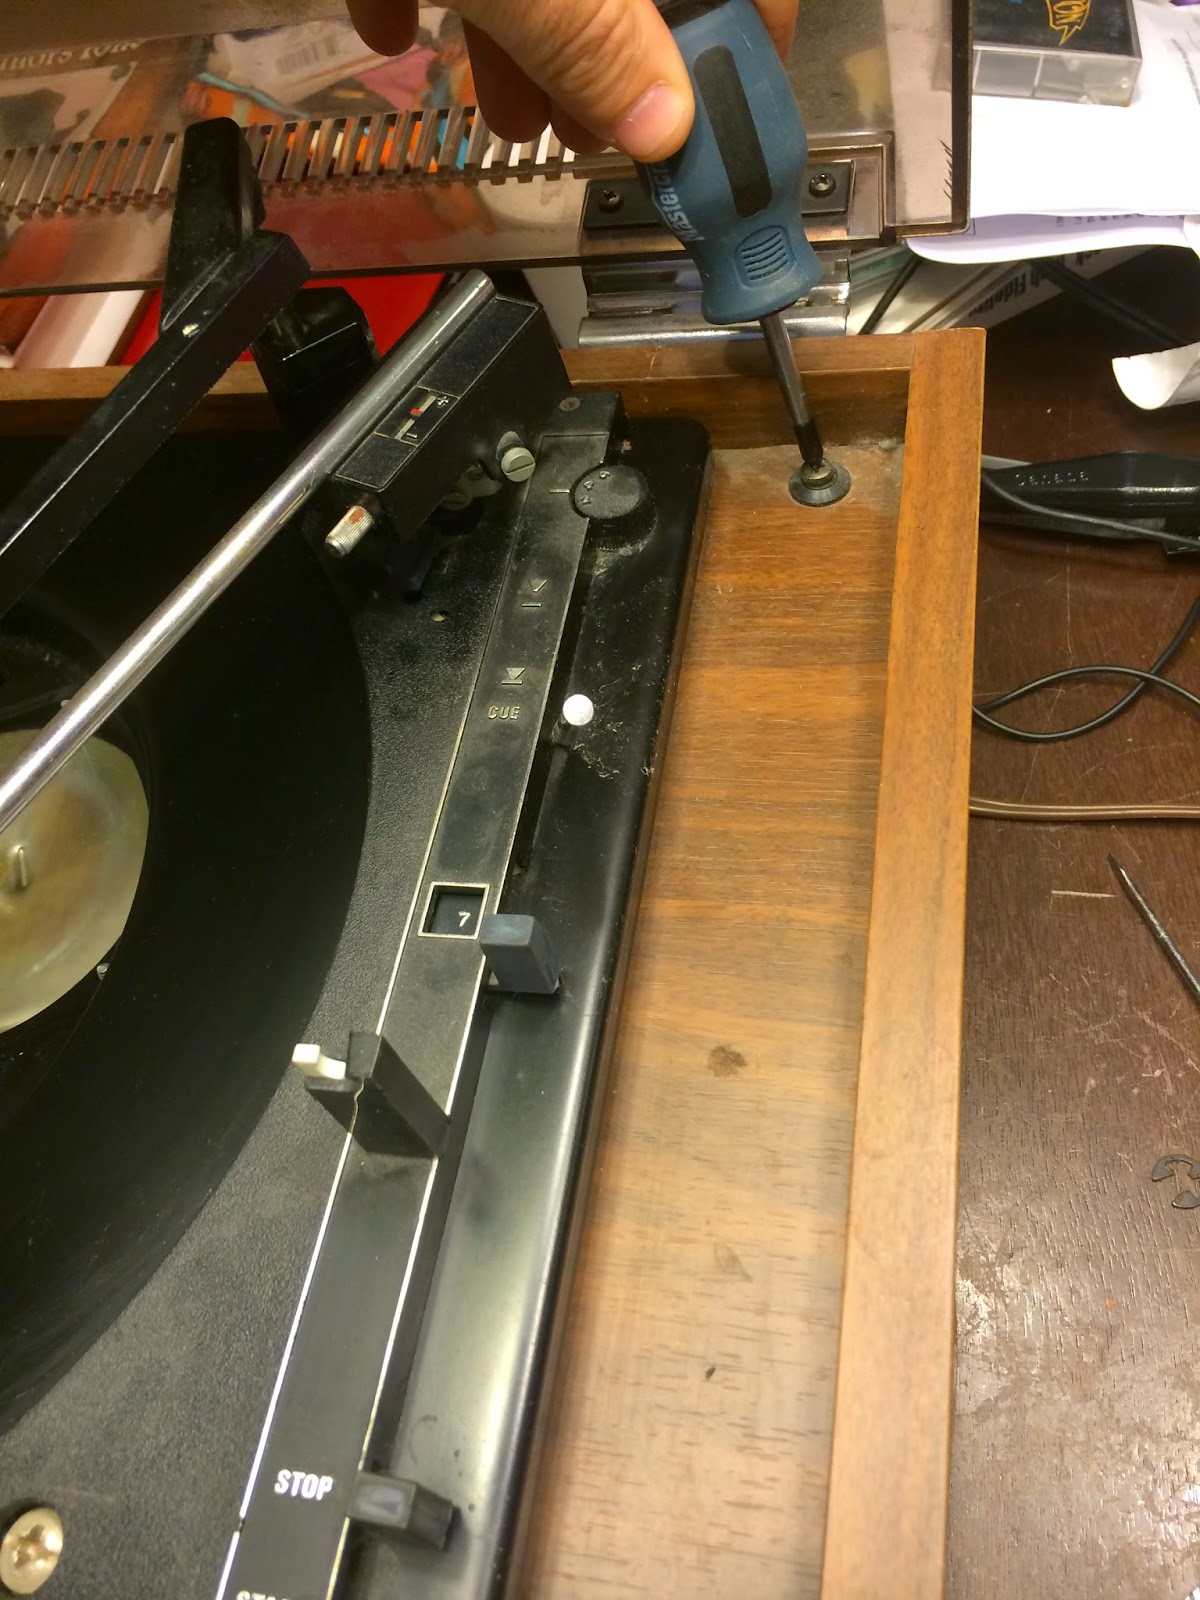

Once you get access to underneath you will see two metal clips that hold the table in place. These simply flip from horizontal to vertical, allowing the table to be removed from the top of the unit.


You will see as plastic wire plug that can be unplugged from the bottom of the table. Unplug it!

Unplug the two audio cables. Take note of which color is plugged into which side. I often mark it on the table with a marker so I don't forget (okay, I never do that.... but I should!)

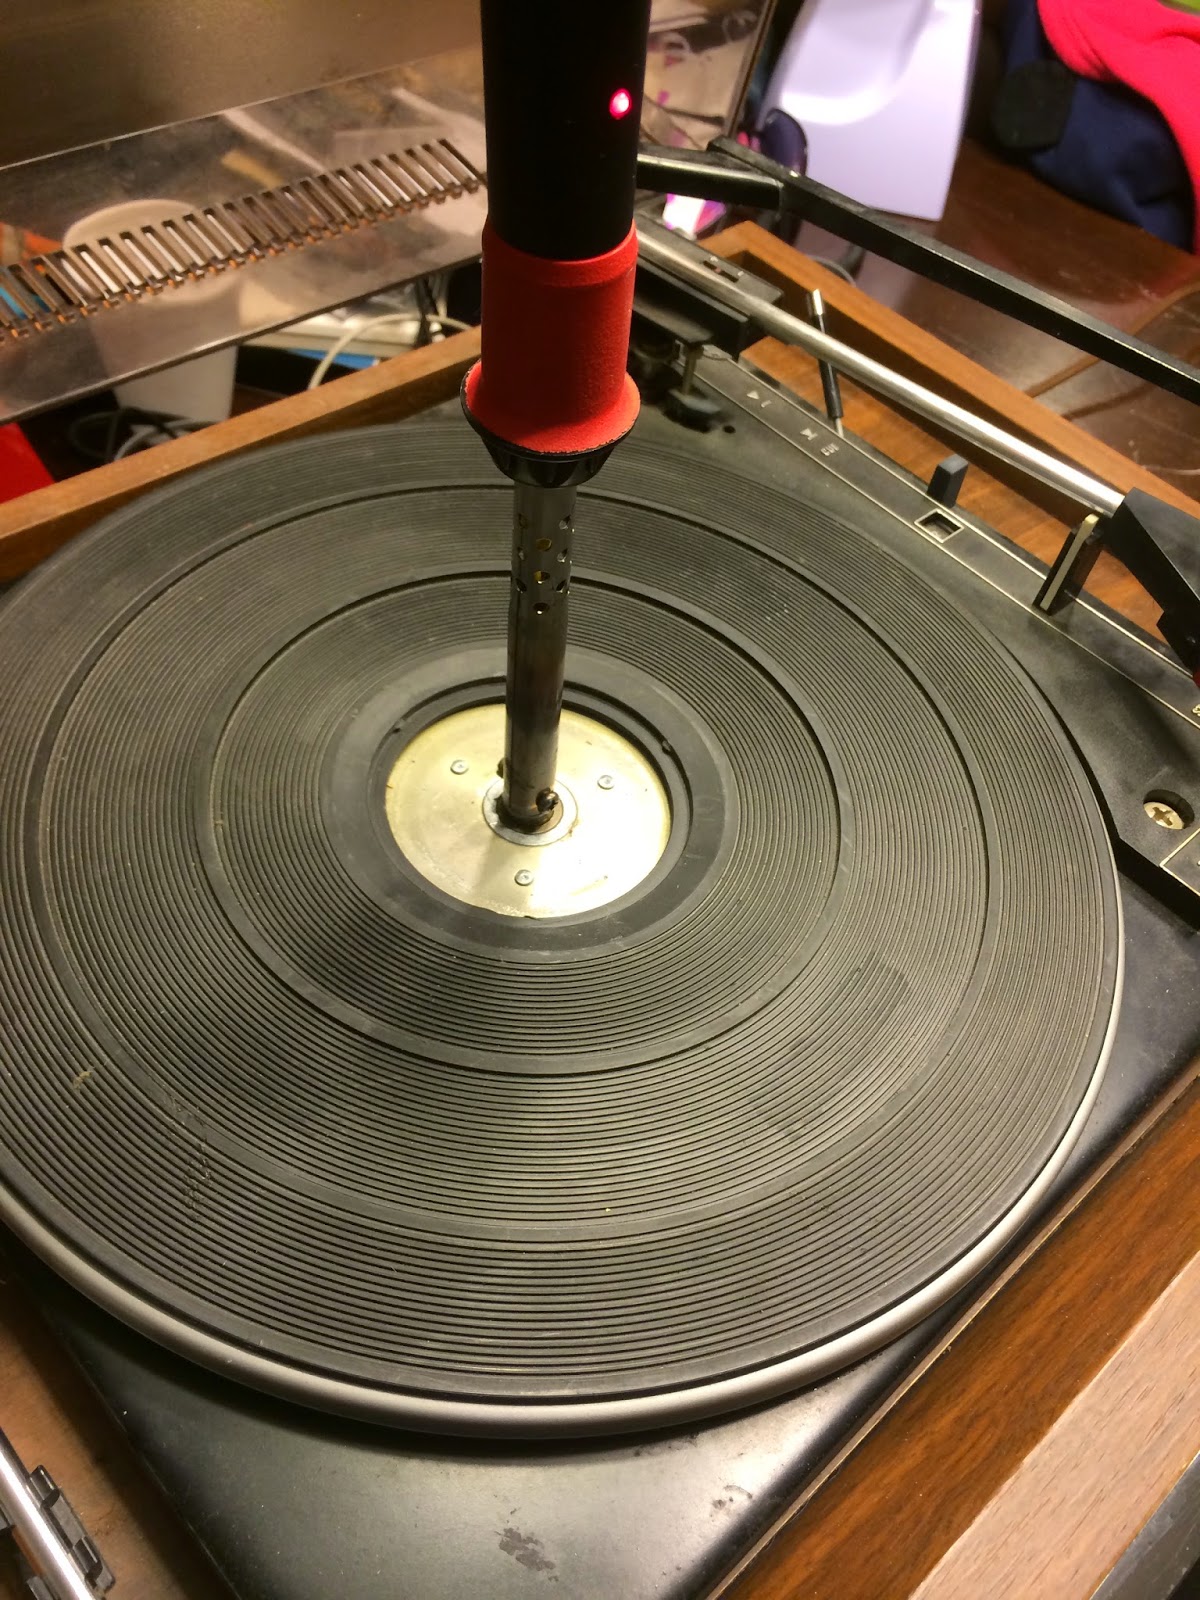
Now your turntable is free! It can now be flipped over to clean the bottom.
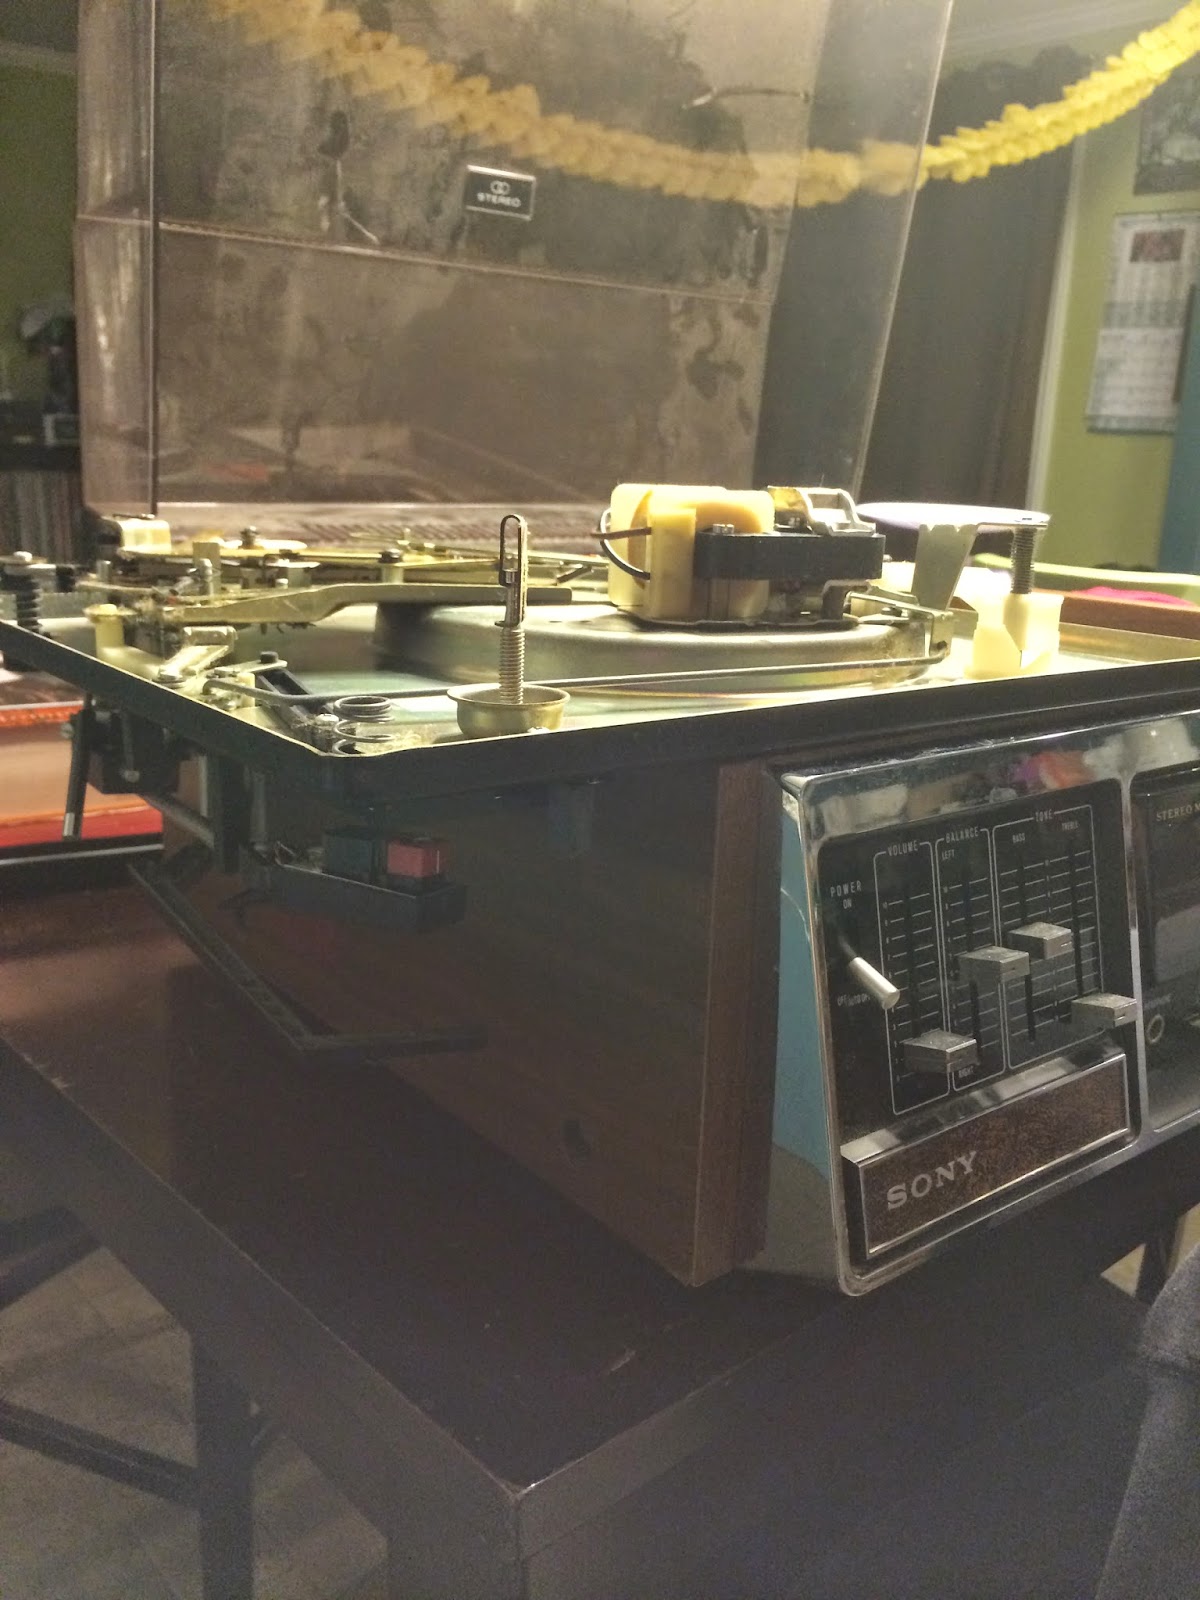
Be sure to never set the turntable on the tonearm. I always lean it over like the photo above to ensure I don't damage anything.

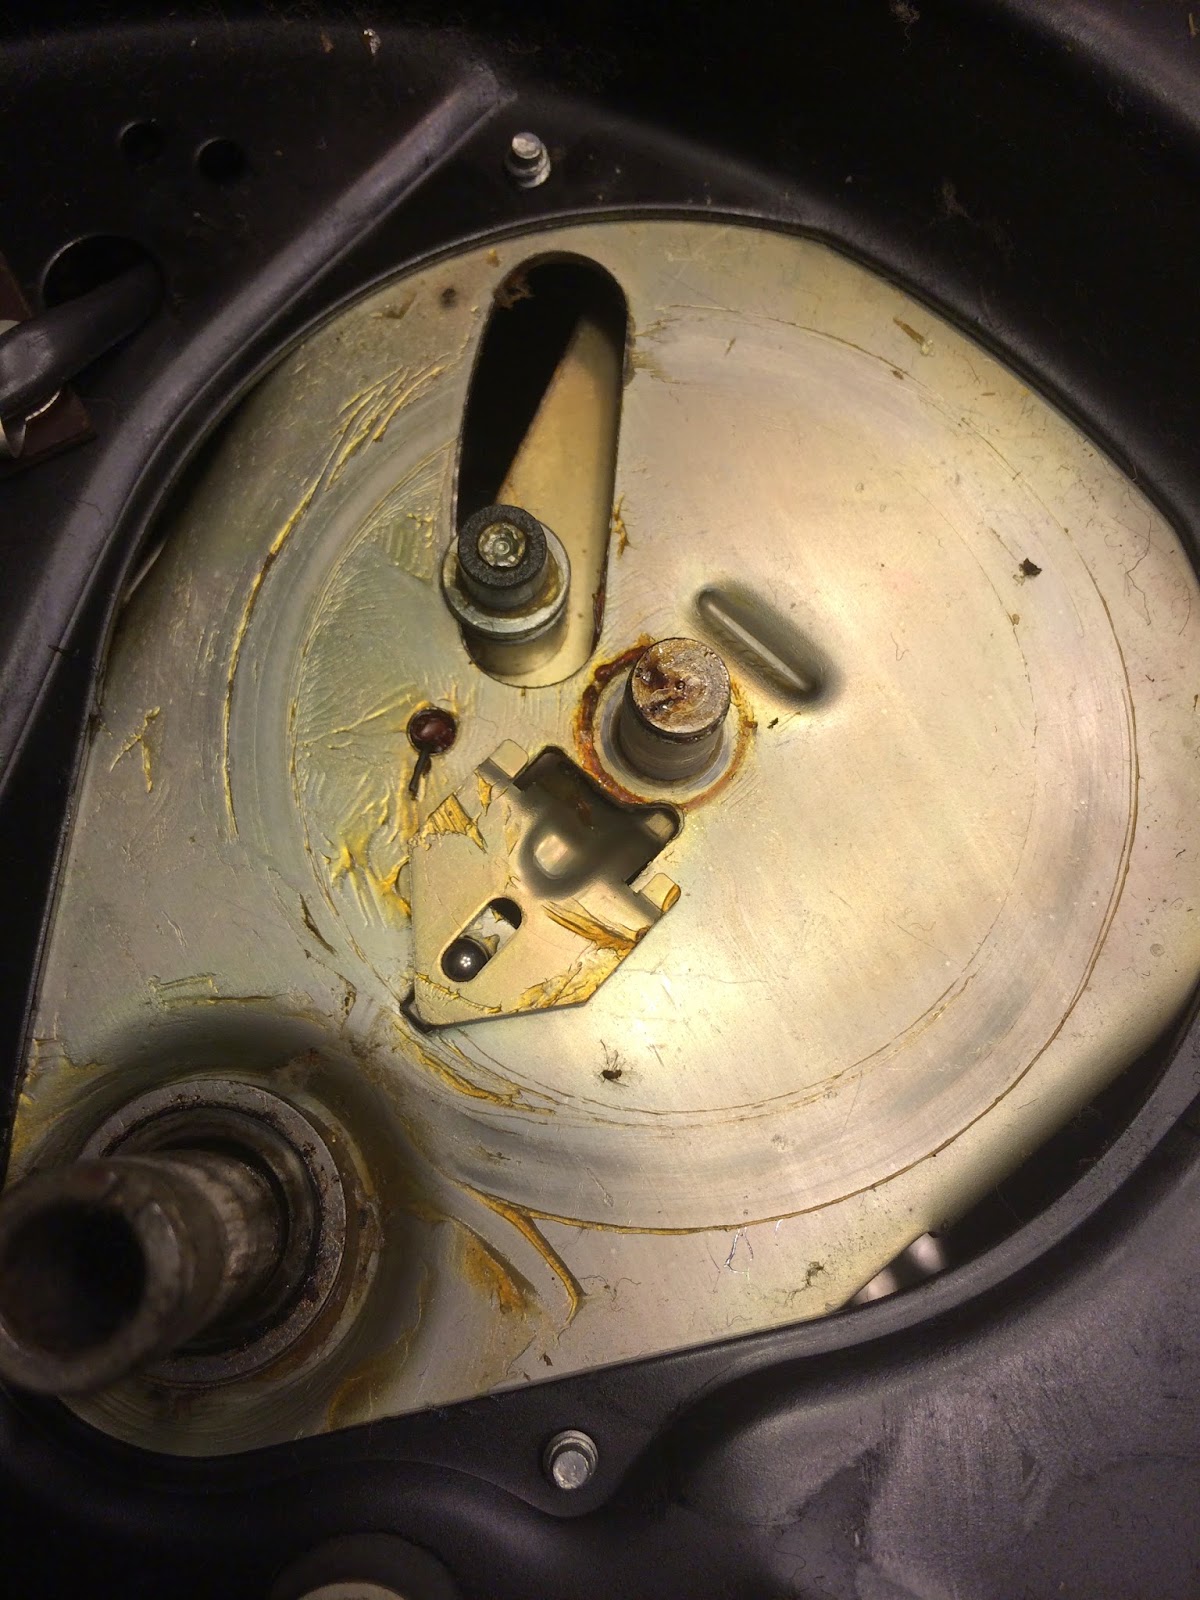
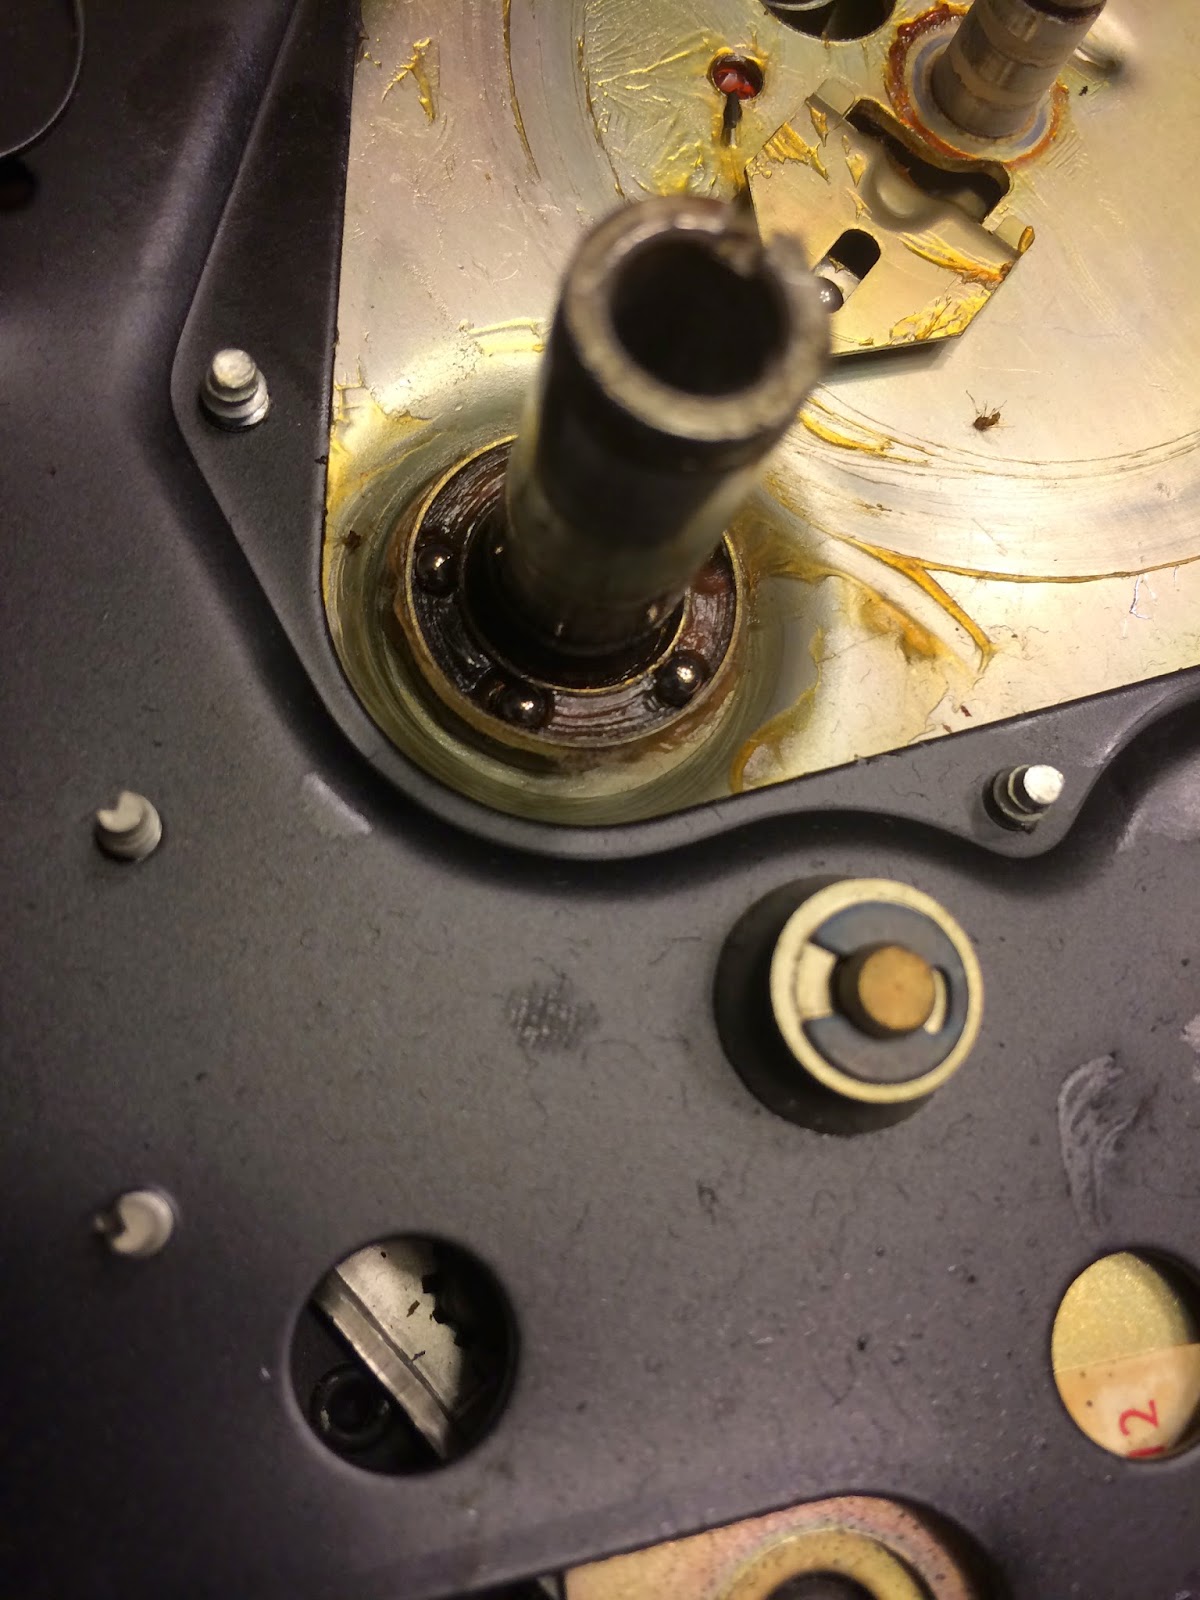
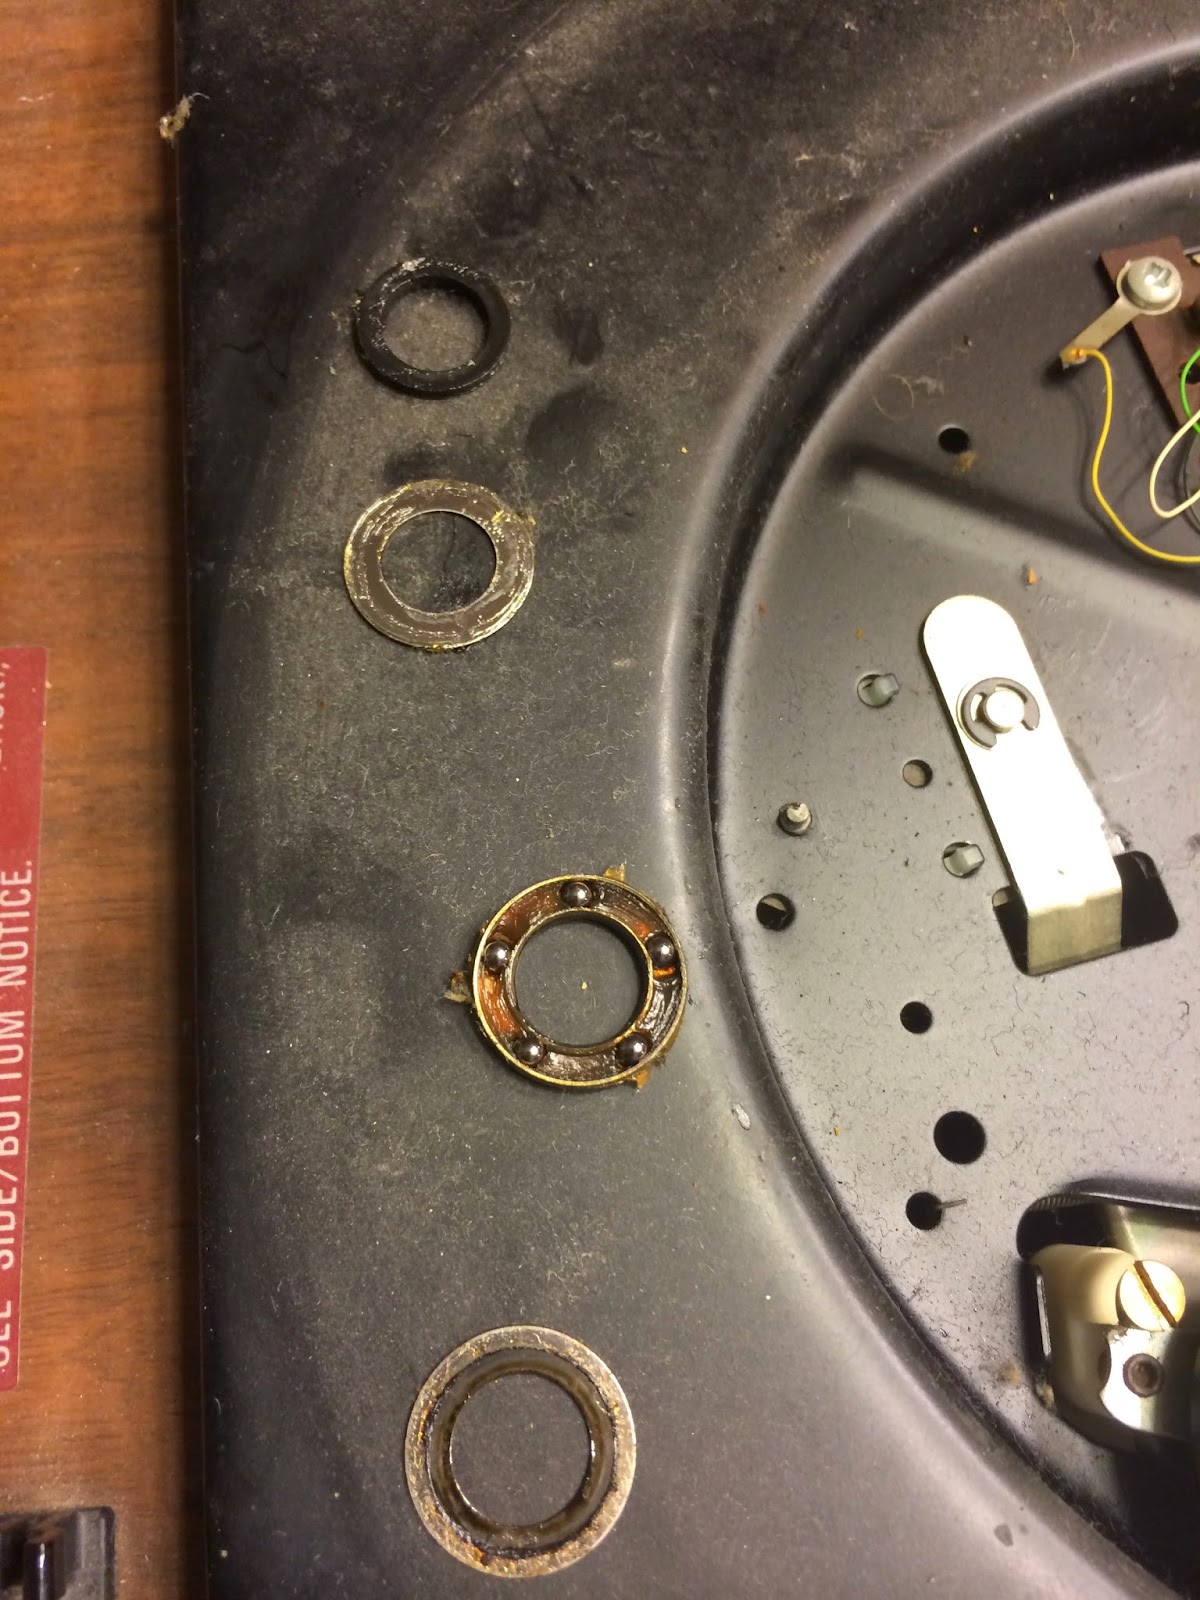
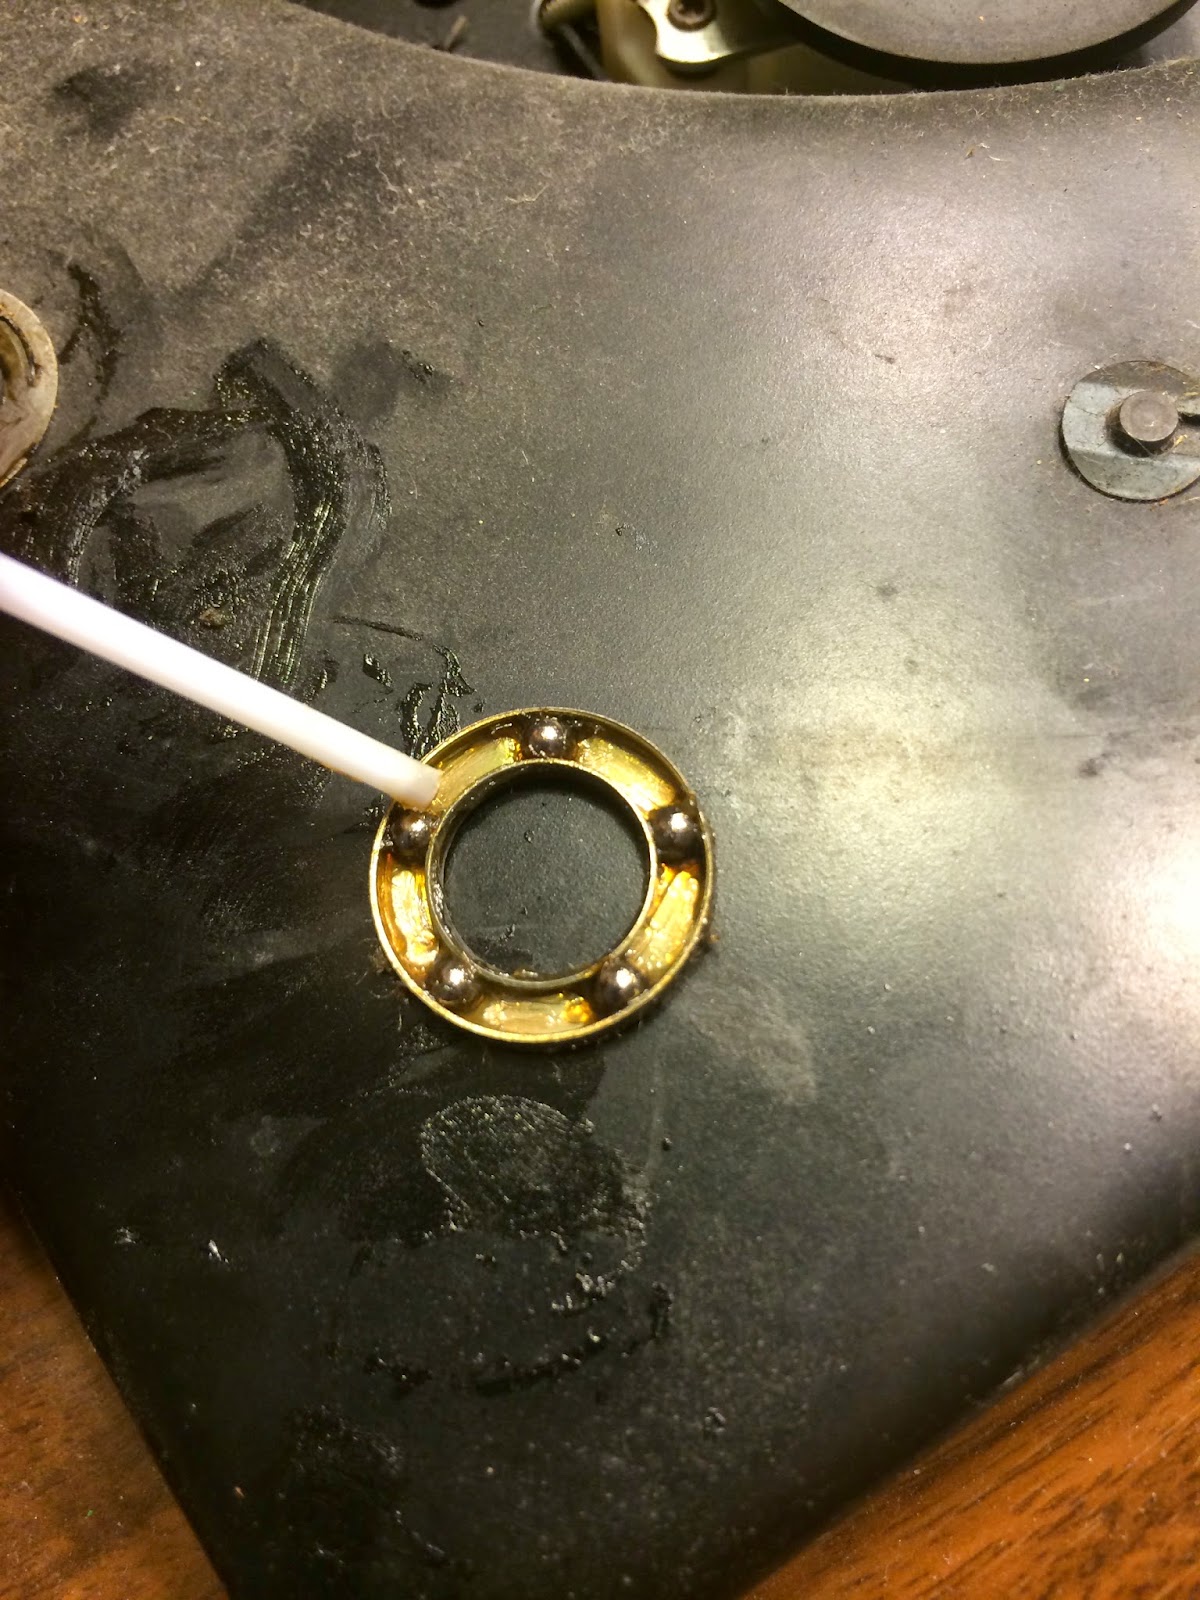
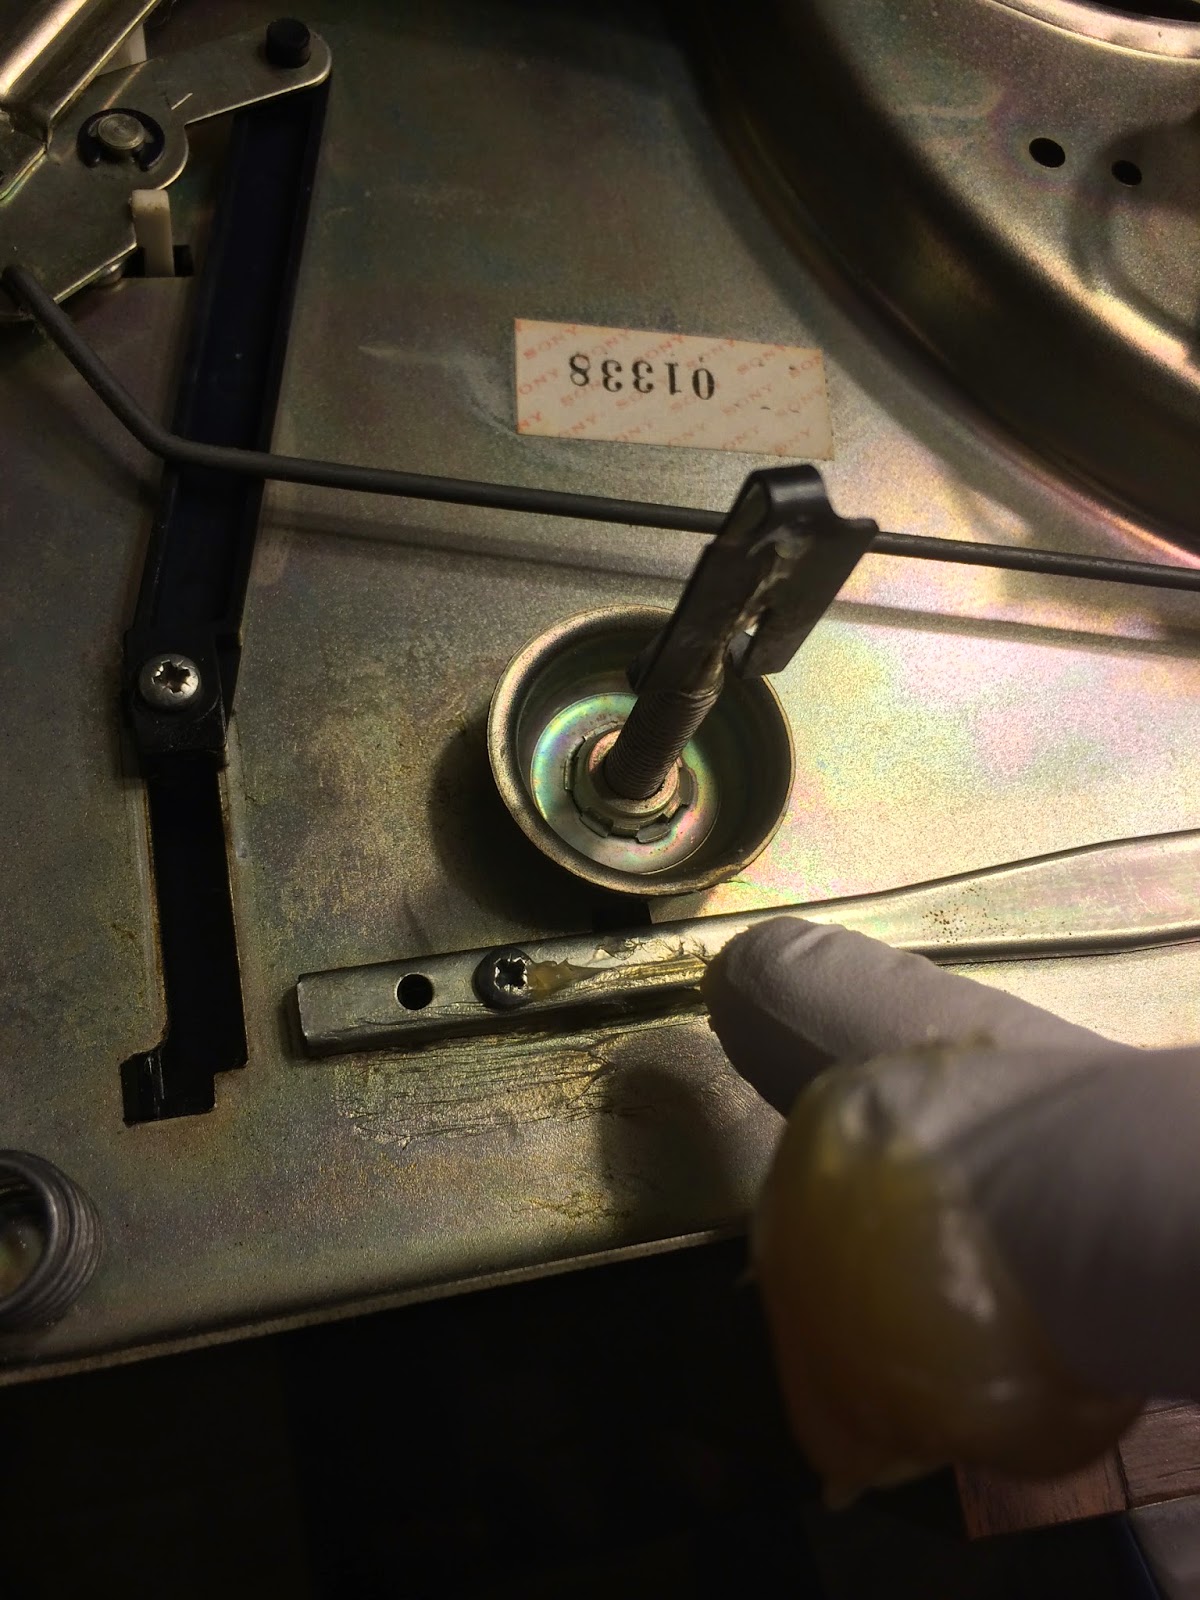
It may look complicated underneath, but lets keep it very very simple. Just remove any old grease you see and replace with new grease.
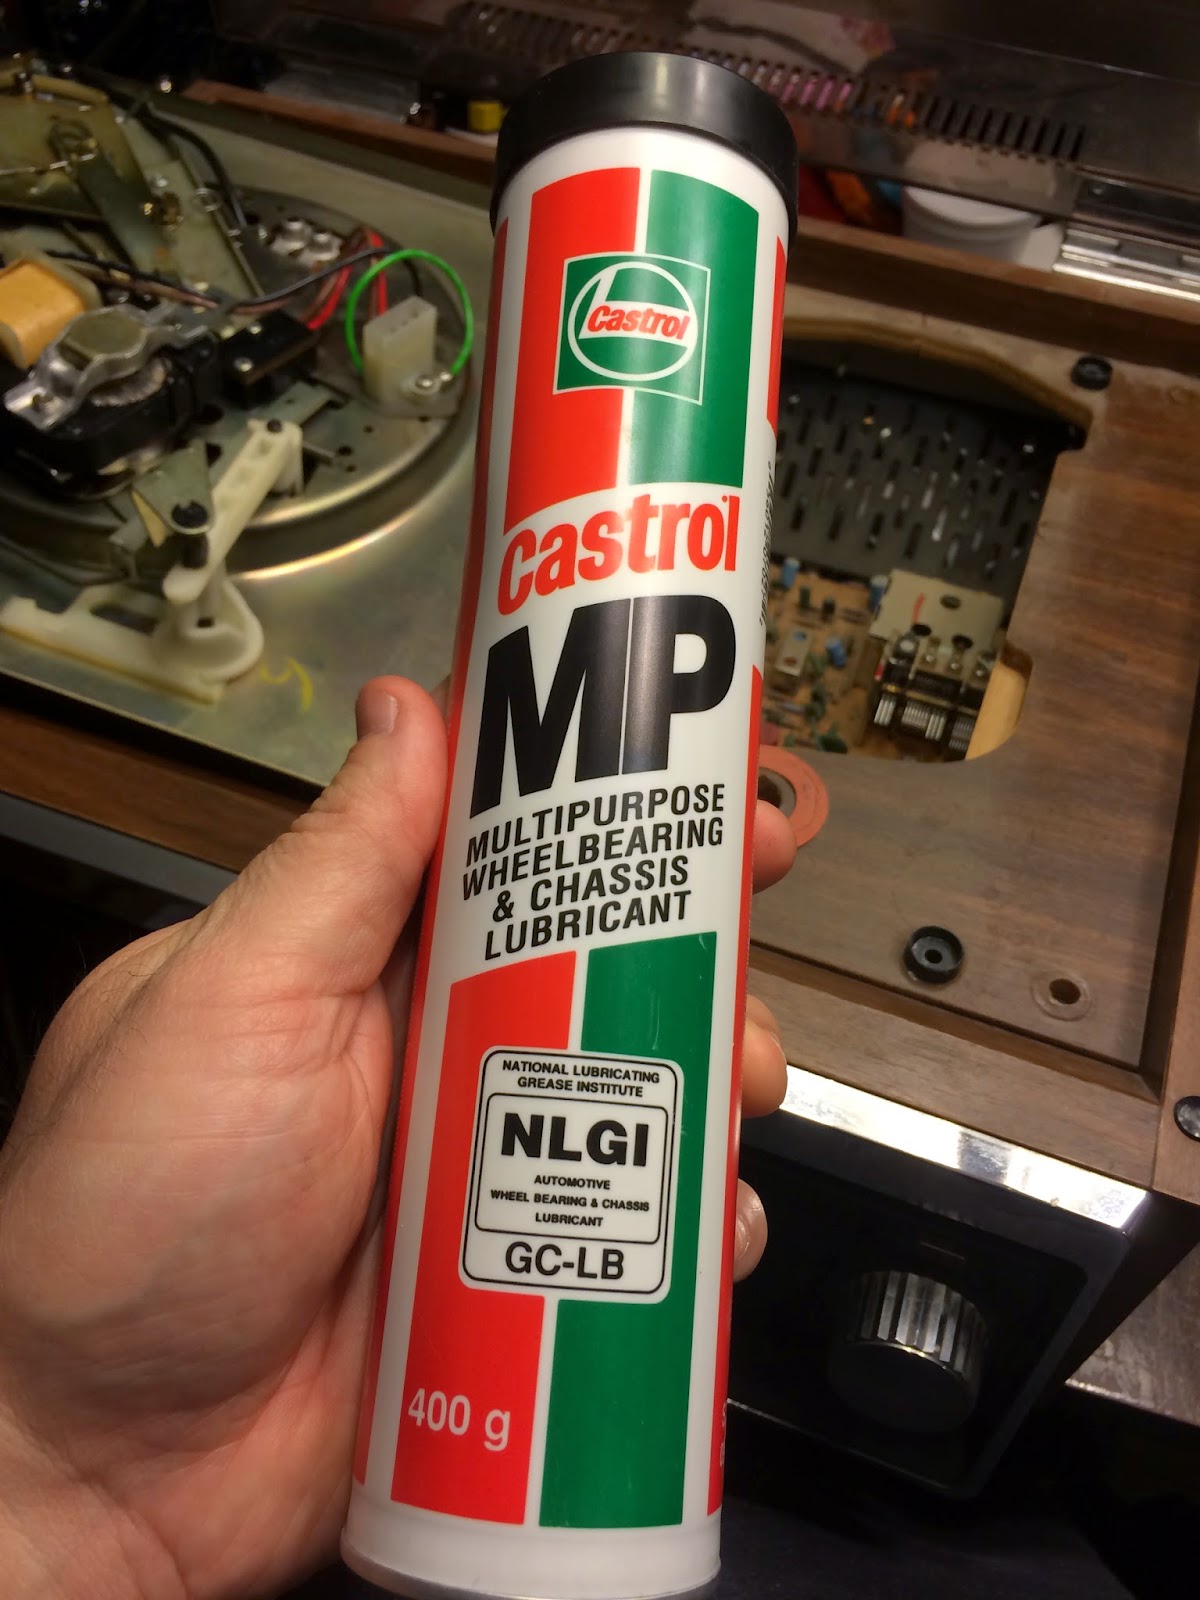
I use wheel bearing grease. There are many different opinions on what should be use but this always works best for me.
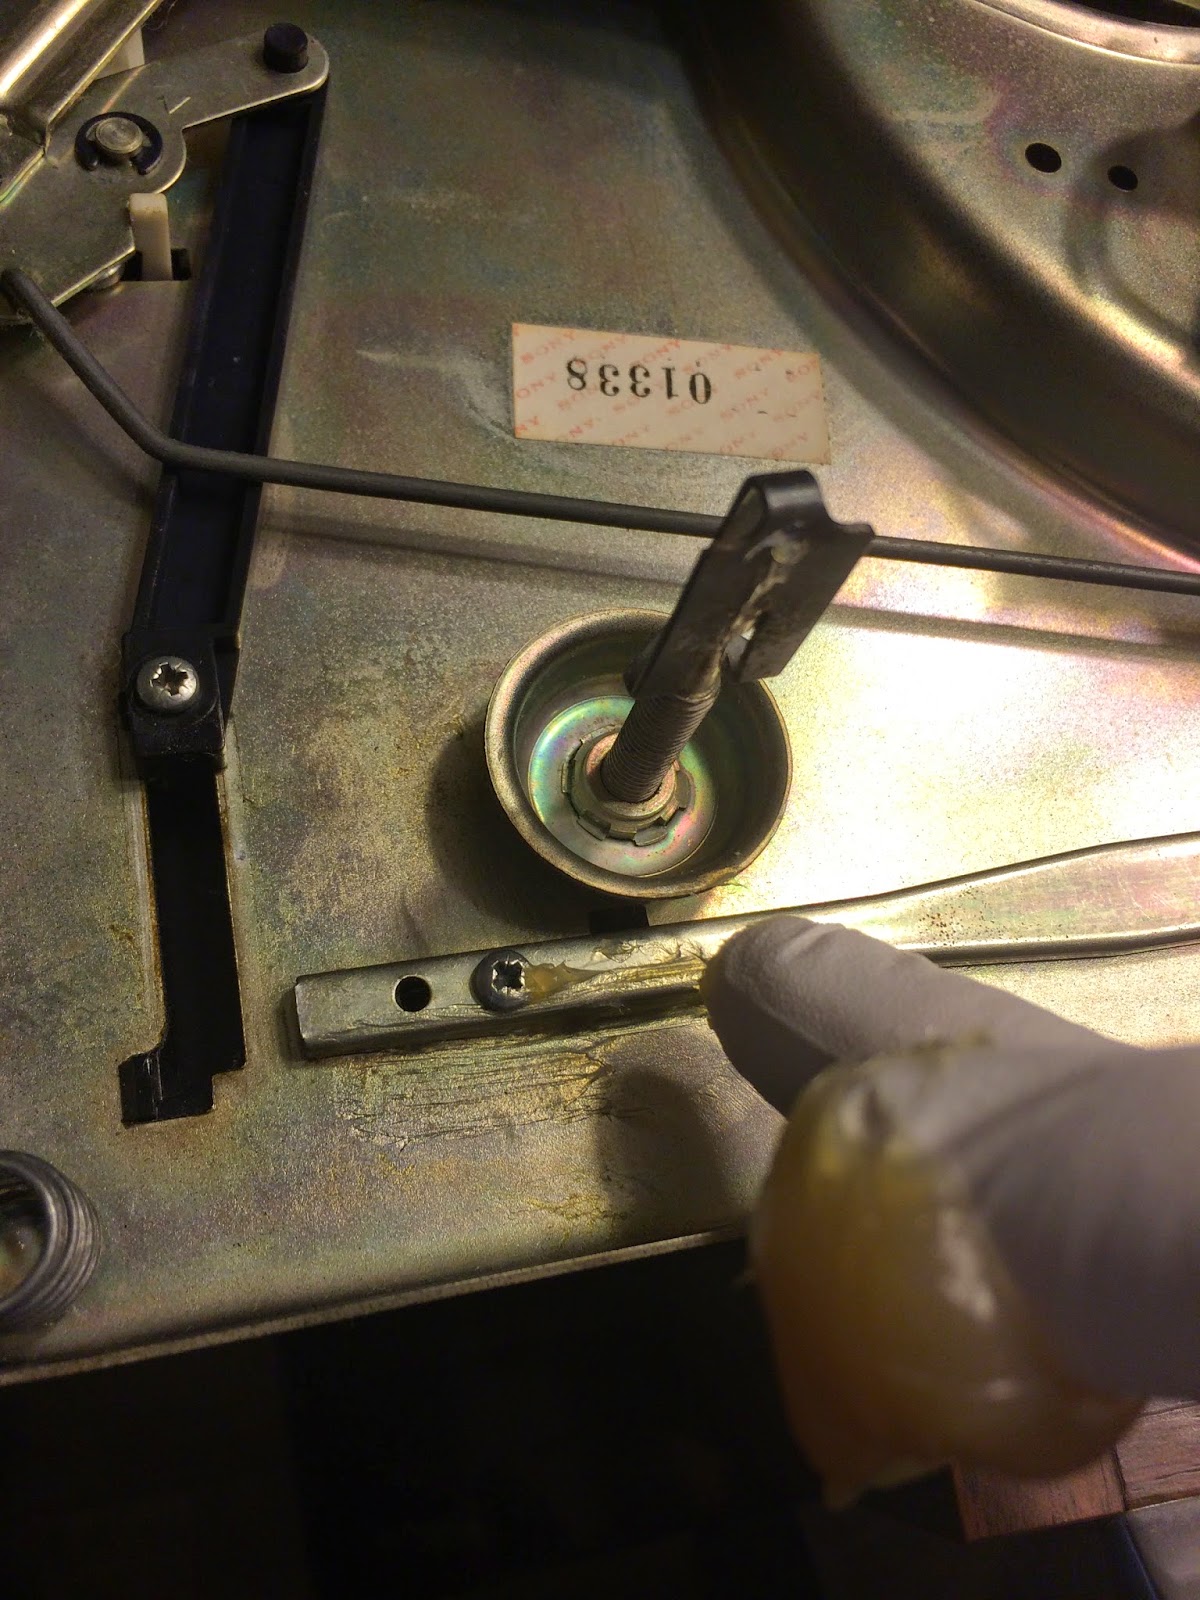
Apply grease to all moving parts that had old grease removed.


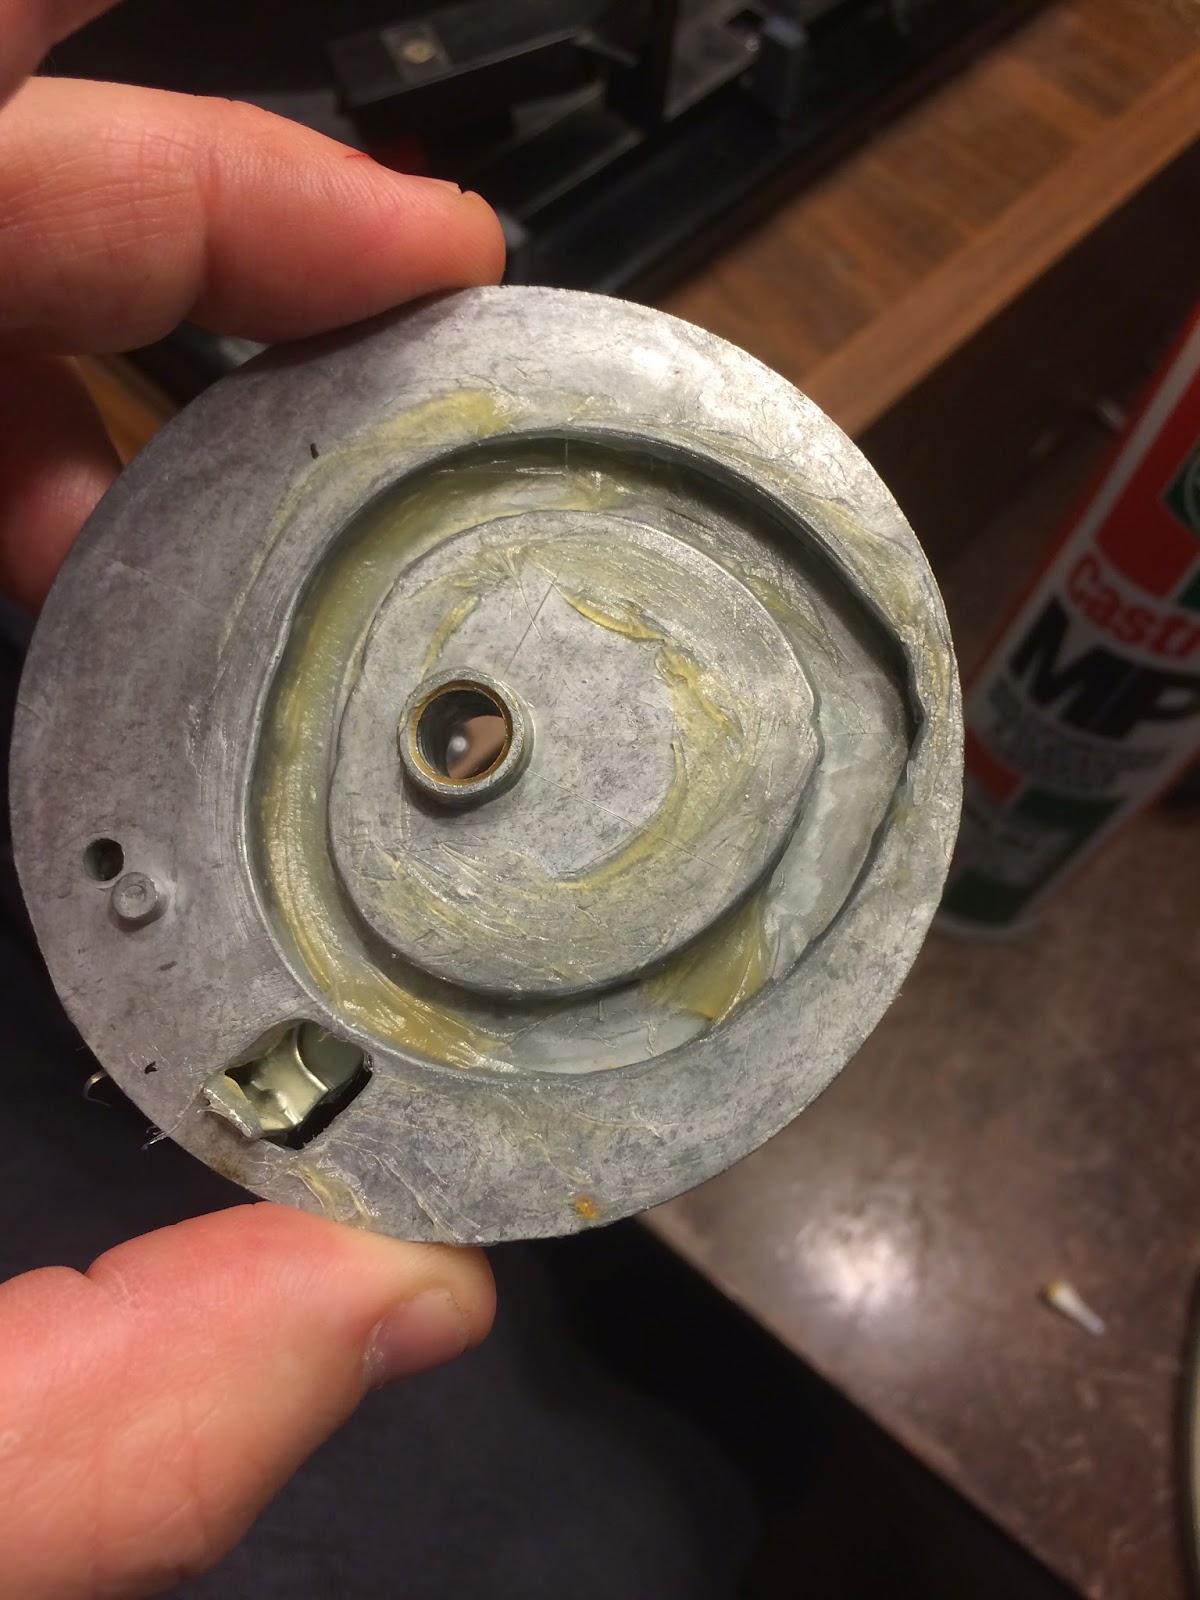
Now flip the table back over and reapply grease to all of the parts on the top where you removed it prior.
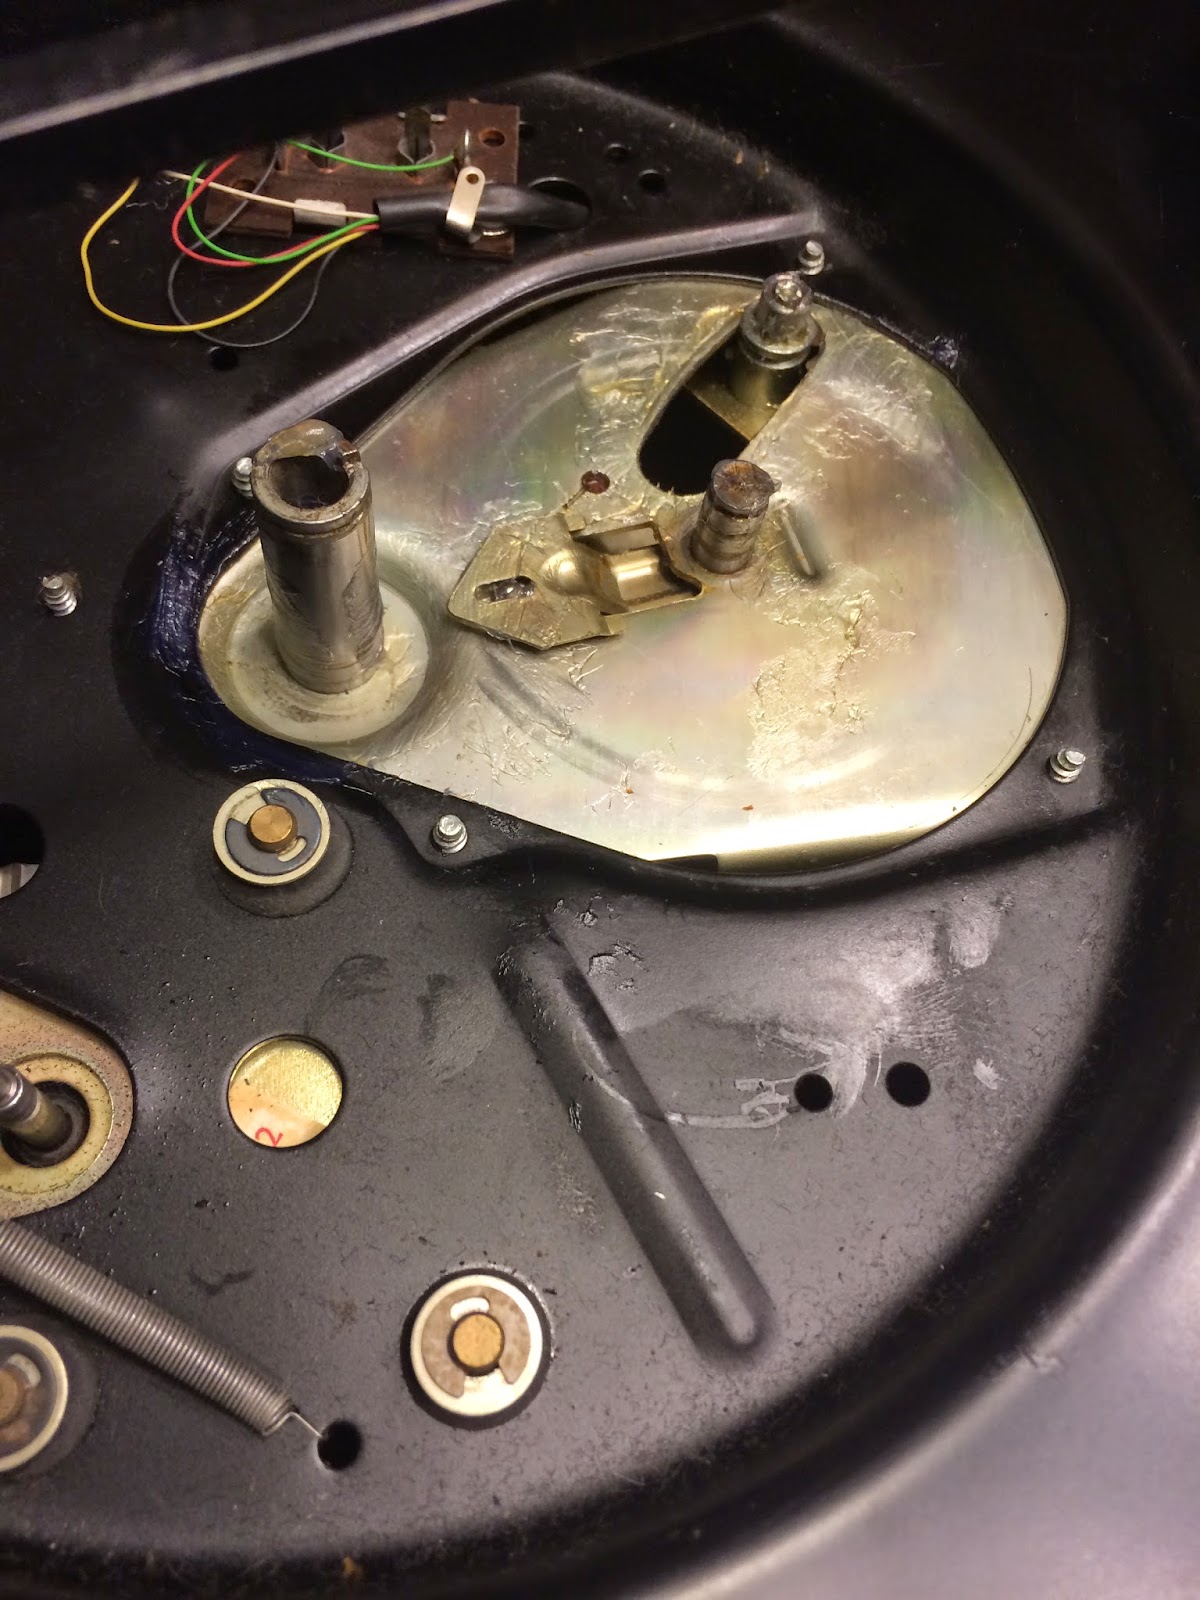
Now you are basically finished! All you have to do is re-install the cycling gear and platter. Be sure to re-install all of the c-clips.
Once I re-install the platter, and before I screw in the top of the unit again, I flick all of the switches a few times and manually rotate the platter. Check underneath to ensure everything is moving freely. If you see any parts jammed up just remove any clips holding it together, clean it up and re-install. Before you take anything apart it is a good idea to snap a photo so you can remember how to re-install.
So there you have it, your BSR turntable should now rotate freely! With this maintenance guide followed, your table should be ready for many more decades of spinning.
No comments:
Post a Comment
Note: Only a member of this blog may post a comment.